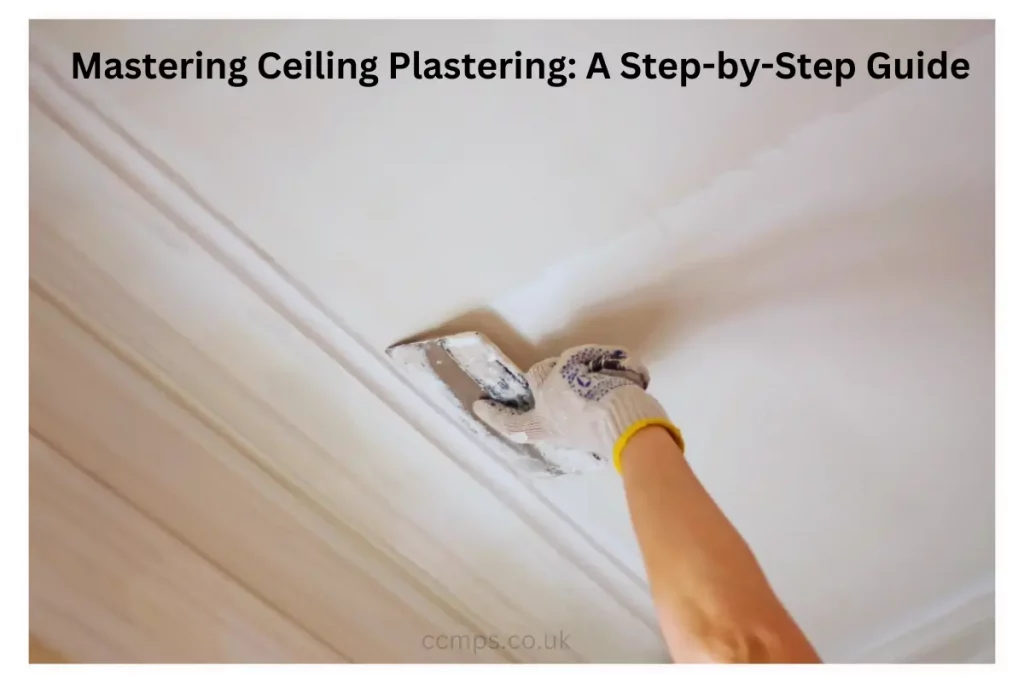
Learn How to Plaster a Ceiling Like a Pro with These Easy Steps
Plastering a ceiling may seem like a daunting task, but with the right knowledge and tools, it’s a job that anyone can master. In this comprehensive guide, we’ll walk you through each step of the process, from preparing your tools to applying the final finish. Whether you’re a seasoned plasterer or a DIY enthusiast, you’ll find everything you need to know to plaster your ceiling like a pro.
Prepare Your Tools and Materials
Before you begin plastering, make sure you have all the necessary tools and materials on hand. You’ll need a hawk, trowel, plaster, mixing bucket and paddle, mask and goggles for protection, clean water, and a wide brush. Once you have everything ready, you’re set to start the plastering process.
Scoop and Apply the Plaster
With your hawk tilted towards you, confidently scoop some plaster onto your trowel and start applying it to the ceiling. Begin a couple of inches away from the edge and spread the plaster across the surface, keeping the thickness even. Be sure to maintain a steady hand and work quickly to achieve a smooth finish.
Flatten and Smooth the Plaster
After applying the plaster, go back over the surface to flatten it using firm pressure. Work the surplus plaster into the edges between the wall and ceiling to avoid clumping. This step ensures an even distribution of plaster and prevents any lumps or bumps from forming.
Apply the Second Coat
Once the first coat of plaster has dried slightly, apply a second coat to ensure an even finish. Use the same sweeping motion as before, slightly overlapping the previous areas. Focus on achieving a consistent thickness across the entire ceiling for professional results.
Trowel Up for a Smooth Finish
Now it’s time to smooth out the surface with a trowel. Remove any trowel marks and concentrate on the main areas of the ceiling to achieve a seamless finish. Keep an eye on the plaster’s setting time to ensure you catch it at the right moment for trowelling up.
Use a Float for a Perfect Finish
With your float, move along the ceiling to even out any thick spots and create a smooth, uniform finish. Wipe off any surplus plaster onto your hawk as you work to maintain control over the application. This step is crucial for achieving a flawless result.
Apply the Final Finish
Once the plaster has set, apply clean water to the ceiling with a wide brush, following closely behind with your float. This final step adds a beautiful finish to your plastered ceiling, leaving it looking polished and professional.
With these simple steps, you can plaster a ceiling with confidence and achieve stunning results every time. Whether you’re tackling a small DIY project or a larger renovation, mastering the art of ceiling plastering is within your reach. So roll up your sleeves, grab your tools, and get ready to transform your space with a perfectly plastered ceiling.
