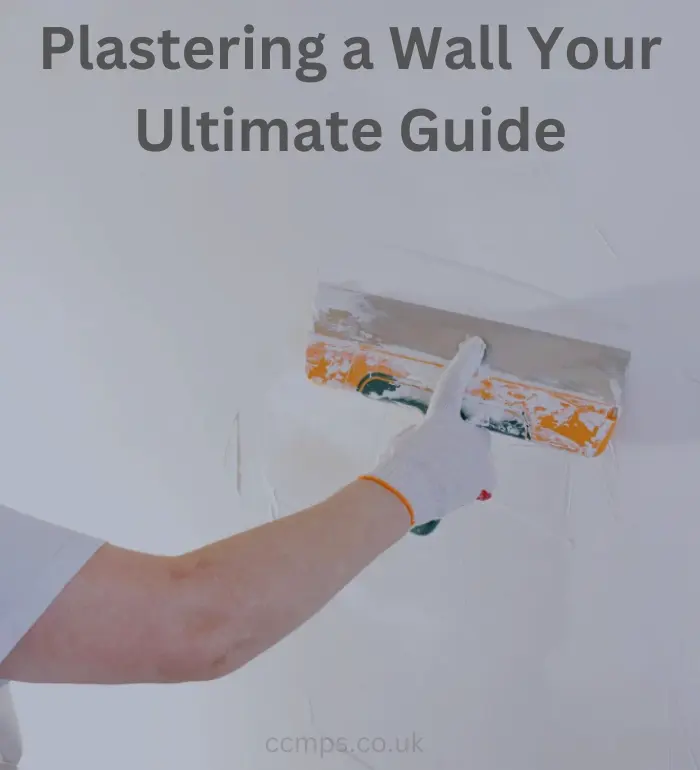
How to Plaster a Wall: Your Ultimate Guide

Plastering a wall may seem daunting at first, but with the right guidance and tools, it’s a task anyone can tackle. In this comprehensive guide, I’ll walk you through each step of the process, from preparation to finishing touches. Let’s get started!
What Do I Need to Plaster a Wall?
To plaster a wall, you’ll need a few essential tools and materials:
-
Plaster
-
PVA Adhesive
-
Bucket
-
Plastering trowel
-
Plasterers hawk
-
Paddle mixer
-
Paint brush
-
Spray bottle
-
Sandpaper
Preparing the Wall for Plastering
Plastering requires a clean and well-prepared surface to ensure optimal results. Here’s how to get your wall ready for plastering:
Plastering can get messy, so it’s essential to clear the workspace. Remove any furniture from the room, and consider taking down curtain rails, dado rails, and even radiators if necessary. Don’t forget to tape up any sockets to prevent plaster from seeping into them.
Lay down heavy-duty protective sheets on the floor. If you’re removing old plaster, use one set of sheets for removal and another for applying new plaster. This prevents dust from contaminating the fresh plaster and ensures a clean work environment.
Thoroughly clean the wall by scrubbing away any wallpaper, loose plaster, grease, and dust. This step is crucial, as debris left on the wall can hinder the plaster’s adhesion.
If you’re working with new plasterboard, apply plaster tape to cover all joints between the sheets. Trim the tape neatly with a sharp knife once it’s in place.
Next, apply PVA glue to the wall. Dilute the glue according to the manufacturer’s instructions, typically using a ratio of 1 part glue to 4 parts water. Roll or brush the diluted glue onto the wall, ensuring even coverage. Start plastering once the glue becomes slightly tacky to the touch, but not completely dry. This tackiness helps the plaster adhere to the wall effectively.
By following these steps, you’ll prepare your wall for plastering success and achieve professional-quality results.
How Do I Mix the Plaster?
Mixing plaster is a crucial step in the plastering process. Start by adding the plaster powder to a bucket of clean water, following the manufacturer’s instructions for the correct ratio. Use a paddle mixer to blend the plaster until it reaches a smooth, creamy consistency.
How to Apply the Plaster
When it comes to applying plaster to your wall, it’s essential to follow the right steps for a smooth and even finish. Here’s how to do it:
- Prepare Your Plaster: If you’re working on a large area, pour the plaster onto a spot board. Ensure the mixture spreads evenly but doesn’t run across the board. Using a bucket trowel, cut a section of plaster and transfer it to your hawk board. Start with a small amount if you’re new to handling the hawk.
- Spread the Plaster: With your plastering trowel, pick up a small amount of plaster from the hawk board. Spread the plaster firmly onto the wall, using upward strokes and angling the trowel slightly away from the wall. Flatten the trowel at the end of each stroke to smooth the plaster down.
- Work Methodically: Begin at the bottom left-hand corner of the wall and work upwards and outwards, using a small amount of plaster each time. Start with short sweeps, then use longer sweeps to smooth out the plaster. Work your way along the wall until the plaster is evenly spread across the surface.
- Safety Measures: If you’re plastering around a light socket, remember to disconnect the electricity and protect the socket with tape.
- First Coat: Allow the first coat of plaster to dry slightly for about 20 minutes. Then, go over the plaster again with a trowel to smooth out any bumps. If needed, spray some water on sections of the plaster to help it respond better to the trowel. Smooth out corners and edges using a wet brush.
- Second Coat: Apply a second coat of plaster following the same steps as before. The plaster for the second coat should be slightly thinner for a smoother finish. Refer to the manufacturer’s instructions for the best results.
- Final Touches: Once again, allow the plaster to dry slightly according to the manufacturer’s instructions. The surface should be slightly damp but firm enough that it doesn’t move when touched.
By following these steps, you’ll achieve a professional-looking plaster finish on your wall.
How Do I Finish Off the Plaster?
Once you’ve applied the plaster to the wall, it’s time to perfect the finish for a polished look. Follow these steps to ensure a flawless result:
- Polish the Surface: Once the plaster has dried to the right condition, lightly go over the surface with a clean trowel blade. Dampen the surface with a spray bottle as you work, and angle the blade slightly to smooth over the plaster evenly.
- Refine the Edges: Use a small damp brush to polish off the edges and corners of the plaster. This step ensures that every detail is smooth and seamless.
- Final Touches: Allow the plaster to dry completely before proceeding with painting or wallpapering. Remember to close up any bags of unused plaster, as the mix will only keep for a couple of weeks.
With these techniques, you can achieve a professional finish that enhances the appearance of your walls. Don’t be intimidated by plastering – with the right approach, you can master this skill and transform your space with confidence.