Master the Art of Mortise and Tenon Joints
Carpentry and woodworking stand as timeless crafts, rich with a multitude of techniques for joining wood pieces. Among these, the mortise and tenon joint shine as a hallmark of traditional joinery, finding applications in furniture construction, cabinetry, and robust timber frame assembly. In this extensive guide, we delve deep into the world of mortise and tenon joints, uncovering their intricacies, variations, and practical applications.
What is a Mortise and Tenon Joint?
At the heart of every mortise and tenon joint lies a simple yet robust connection between two wooden pieces. The joint comprises two fundamental components: the mortise and the tenon.
The mortise, typically a square or rectangular cavity, is carved, drilled, or routed into one piece of wood. Its depth may vary, spanning from shallow to through-mortises that penetrate the wood entirely.
Contrarily, the tenon manifests as a protruding segment, hewn from another wooden piece. Its dimensions and shape vary, crafted through chiseling, sawing, or a combination of techniques. The tenon features defined shoulders and cheeks, determining its length, width, and height.
While the ancient technique of cutting mortise and tenon joints persists, modern iterations see the integration of power tools like plunge routers and saws. Nevertheless, the essence of the joint remains unaltered, enduring through time and evolving woodworking practices.
Types of Mortise and Tenon Joints
With a plethora of craftsmen and artisans employing mortise and tenon joinery, several variations have emerged to suit diverse needs. Here’s an overview of some common types:
Standard Mortise and Tenon Joints
- Characterized by partially cut mortises and straight tenons with two or four shoulders.
- Offers ample gluing surface, ensuring robust joints ideal for tables, chairs, and similar applications.
Stub Mortise and Tenon Joints
- Employed in frame and door panel construction, featuring shallow grooves known as dados.
- Short tenons slide into these grooves, resembling butt joints while providing enhanced strength and adhesive area.
Haunched Mortise and Tenon Joints
- Bolsters frame and panel doors with deeper mortises near the style’s end.
- Incorporates a stepped “haunch” in the dado, enhancing joint strength and resistance to racking.
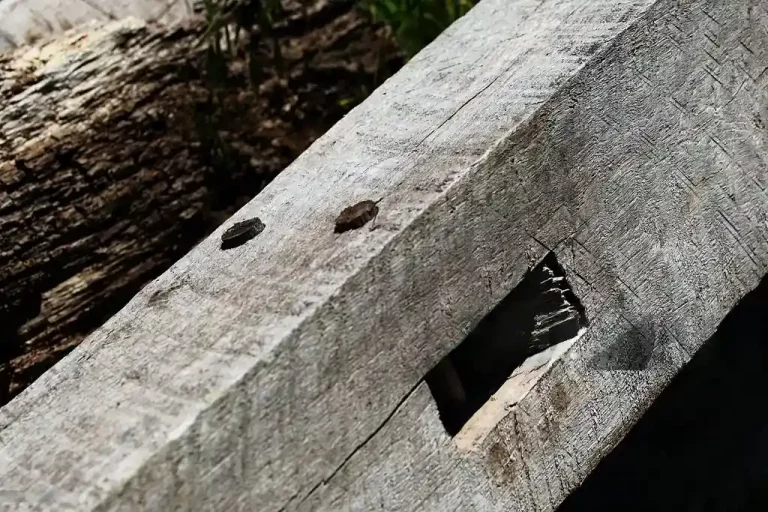
Through Mortise and Tenon Joints
- Prevalent in heavy-duty projects like timber framing, featuring mortises that traverse the wood entirely.
- Utilizes pegs or wedges for securing the joint, facilitating disassembly when necessary.
Tools and Materials for Cutting a Mortise and Tenon Joint
Achieving precision in mortise and tenon joints demands the right tools and materials. Here’s what you’ll need:
- Two pieces of wood
- Combination square
- Pencil
- Bench vise
- Set of bench chisels
- Utility knife
- Hammer
- Power drill
- Hand saw
- Sandpaper
- Wood glue and pegs (optional)
- Wood clamps
Step by Step Guide for Cutting a Mortise and Tenon Joint
Follow these steps to master the art of cutting mortise and tenon joints:
1. Layout the Joint
- Use a combination square to mark the size and location of the joint.
- Determine the tenon’s thickness and mark the mortise and tenon shoulders accordingly.
2. Cut the Tenon
- Secure the wood piece in a bench vise and cut the cheeks and shoulders of the tenon using a hand saw.
- Fine-tune the tenon’s size and fit using bench chisels, ensuring a snug fit within the mortise.
3. Drill Out the Mortise
- Choose a drill bit slightly smaller than the mortise width and drill into the mortise location.
- Use a power drill to create holes within the mortise area, ensuring accuracy and alignment.
4. Fine Tune the Mortise with Chisels
- Score the mortise edges with a utility knife to prevent splintering.
- Use bench chisels to carefully remove excess wood from the mortise, achieving the desired depth and fit.
5. Test Fit the Joint
- Regularly test the fit of the tenon within the mortise, making necessary adjustments with chisels or sandpaper for a precise fit.
6. Secure the Joint
- Apply wood glue to the tenon’s shoulders and cheeks, as well as inside the mortise.
- Assemble the joint and clamp it securely, allowing the glue to cure for optimal strength.
- Alternatively, use pegs for securing the joint, employing a draw-boring technique for enhanced stability.
Conclusion
Mastering mortise and tenon joints elevates woodworking craftsmanship, offering durable and aesthetically pleasing connections for various projects. By understanding the fundamentals, exploring different joint types, and following meticulous cutting techniques, artisans can unlock the full potential of this timeless joinery method. Whether crafting furniture, cabinetry, or structural frameworks, the mortise and tenon joint stand as a testament to the enduring legacy of woodworking traditions.