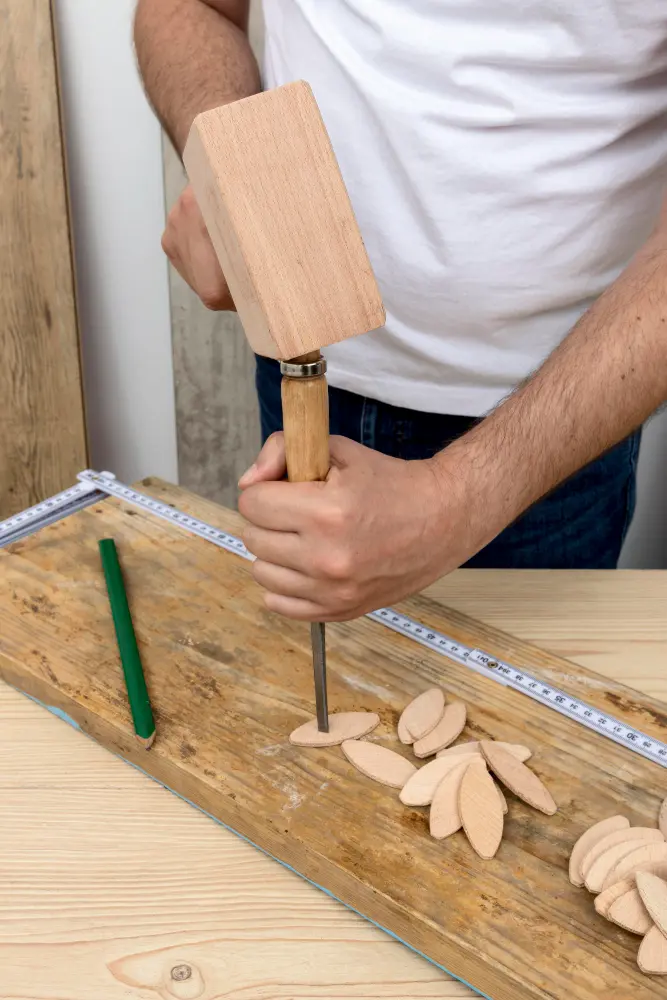
Biscuit Joint: Techniques, Common Mistakes, and Step-by-Step Guide

A biscuit joint is a method of joinery used in woodworking that involves inserting a compressed wood chip, known as a biscuit, into slots cut into two corresponding pieces of wood. These oval-shaped biscuits, resembling footballs, are placed into glue-filled joints where they swell and lock the joint in place. Biscuit joints are created using a power tool called a biscuit joiner, which cuts half-moon-shaped slots for the biscuits to fit into. Different sizes of biscuits are available to accommodate various wood types and thicknesses, with larger biscuits providing more surface area for glue. Biscuit joiners have depth settings to match different biscuit sizes, allowing for precise and consistent results. While biscuit joints may not be as strong as some traditional joinery methods, they are ideal for applications where ease, speed, and consistency are prioritized over sheer strength.
Some Common Mistakes To Avoid When Making A Biscuit Joint
When making a biscuit joint, there are several common mistakes to avoid. First, it is important to avoid cutting through the face of a workpiece’s beveled end, as this can cause damage that is difficult to repair. To avoid this mistake, cut the slot closer to the inside corner of the beveled end.
Second, it is crucial to ensure that the mating biscuit slots are aligned properly to avoid misaligned workpiece surfaces. To achieve this, reference your cuts from the same workpiece surface and avoid using the base and fence together for alignment. Instead, reference your cuts either with the base resting on the benchtop or worksurface, or with the fence resting on the face of the workpiece.
Third, it is important to avoid crooked or unsquare slots, which can be caused by the start-up torque of a joiner. To prevent this, never make field cuts freehand, and instead, clamp a stop to your workpiece as a reference point for the joiner.
Fourth, it is essential to avoid exposing biscuits in edge-glued workpieces, which can lead to cutting into them when machining a profile. To avoid this, plan ahead and locate the biscuits far enough from the edges and ends so they won’t be exposed.
Lastly, it is important to avoid glue-line depressions, which can be caused by the glue around the biscuit causing the wood to swell slightly. To prevent this, allow your glued-up workpieces to dry for 24 hours before machining.
In summary, accuracy and precision are key when making biscuit joints. By avoiding these common mistakes, you can ensure that your biscuit joints are strong, aligned, and free from defects.
How To Make Biscuit Joint?
To make a biscuit joint, follow these steps:
Choose Biscuit Size and Adjust Biscuit Joiner
- Select the appropriate biscuit size based on the wood thickness.
- Plunge a groove in the edge of the topmost workpiece.
- Align the biscuit joiner’s center mark with your pencil line and plunge a groove vertically in the face of the bottommost workpiece.
- Repeat the procedure for any additional biscuits needed.
Do a Test Fit
- Clean out any sawdust from the grooves using a toothpick.
- Insert biscuits into the grooves and dry fit the workpieces together.
- Ensure the joint is tight.
Join Pieces
- Remove the biscuits and apply wood glue into the grooves.
- Spread the glue with a toothpick.
- Insert a biscuit into each groove on one workpiece.
- Clamp the pieces together tightly and allow the glue to set before removing the clamps.
Tools to Use
To make a biscuit joint, you will need the following tools:
- Biscuit joiner
- Clamps
- Wood glue
- Pencil
- Marking gauge or square
- Measuring tape or ruler
Optional tools:
- Accurate-Alignment Biscuit-Joiner Jig
- Stop block