How to Make Tongue and Groove Joints?
A tongue and groove joint is a type of woodworking joint where two wooden boards are connected with a tongue on one edge and a groove on the other. The tongue is a thin protruding edge, while the groove is a hollow channel cut into the board. This joint creates a strong and seamless connection between the two boards, making it ideal for various woodworking applications like joining floorboards, ceiling panels, wall paneling, doors, windows, cabinets, and drawers. Tongue and groove joints are known for their strength, durability, and ability to create a flush surface between boards, preventing warping or cupping over time. They are commonly used in both professional and DIY woodworking projects due to their reliability and ease of assembly.
What Types Of Materials Are Commonly Used For Tongue And Groove Joints
Commonly used materials for tongue and groove joints in woodworking include sturdy wood with consistent thickness. These materials are ideal for creating strong and seamless connections between wooden boards. When making tongue and groove joints by machine, it is recommended to use wood with consistent thickness to ensure precise cutting and fitting of the joint. Additionally, tongue and groove joints can be made by hand using handplane tools, which require expertise and sturdy wood boards for consistent results.
Common Types Of Wood Used
Common types of wood used for tongue and groove joints include:
SB Red Grandis: This wood allows for some knots and small color variation.
#2 Southern Pine: This type of wood allows for large knots and some color variation.
C Southern Pine: Mostly clear with occasional tight knots.
How to Make Tongue and Groove Joints?
To make a tongue and groove joint, you’ll need a router table and a matching set of router bits, or a table saw with a stacked dado blade set. Here are the steps to make a tongue and groove joint:
- Prepare the boards: Cut all the boards to a length of at least one inch longer than the final length, and joint one edge of each board using a jointer.
- Cut the groove: Install the groove cutting bit in the router and adjust the height of the router bit so it lands just inside the guideline for the groove. Then, use the depth guideline to adjust the fence in or out to the ideal depth. Cut the groove along the length of the board.
- Cut the tongue: Install the tongue cutting bit in the router and adjust the height of the router bit so it lands just inside the guideline for the tongue. Then, use the depth guideline to adjust the fence in or out to the ideal depth. Cut the tongue along the length of the board, ensuring it fits snugly into the groove.
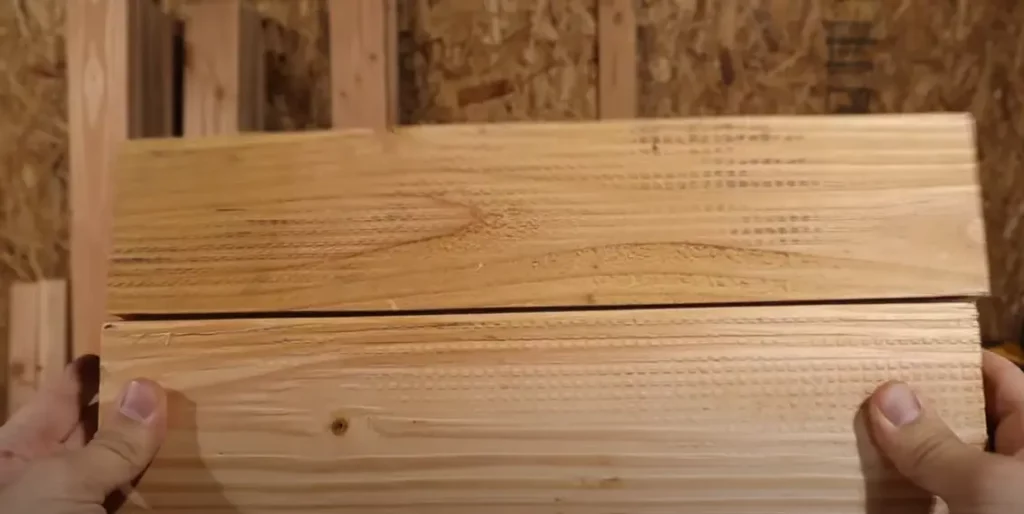
- Dry fit the joints: After all the tongues have been cut to match the grooves, dry fit the joints to ensure a snug fit.
- Glue the joints: Apply a thin layer of glue to all edges of the first groove before sliding the tongue into place. Immediately clean off any glue that squeezes out of the joint to prevent any finishing issues later on.
- Clamp the assembly: After all the glue has been applied, clamp the assembly tightly and allow it to dry for at least 24 hours.
- Trim the ends: After the assembly has dried, trim the ends of the boards to the final length using a table saw or compound miter saw.
When cutting tongue and groove joints, it’s generally easier to start with a groove and then cut the tongue to fit. This will ensure a centered groove and a properly fitting tongue. Additionally, using a router table with a matching TandG set is a simple and cost-effective way to make tongue and groove joints.
Tools
The tools needed to make tongue and groove joints include:
- Router motor
- Router table
- Tongue and groove router bit set
- Shop vac
- Marking tools
- Safety equipment
- Jointer (for preparing the edges of the boards)
- Table saw with a stacked dado blade set (for cutting the joint)
- Square
- Straight-edge square
- Clamps
- Featherboard (for holding the board in place)
- Sacrificial board
- Compound miter saw (for trimming the ends)
- Combination square
- Pencil
- Safety glasses
- Rip fence
- Two pieces of wood of the same thickness
- Scrap wood of the same thickness