What is a Miter Joint? Types, Uses, and How to Make One
A miter joint is a woodworking joint created by cutting two pieces of material at a 45-degree angle and joining them to form a corner, typically a 90-degree angle. This type of joint is commonly used in carpentry for various applications like picture frames, crown molding, and decorative pieces. The term “miter joint” originated from the Latin word “mitra,” meaning “cap,” and has been used since the 15th century to describe joints used in constructing ceremonial headdresses. Miter joints are popular due to their clean appearance but can be relatively weak, requiring reinforcement with splines, dowels, or other methods. They are widely used in residential construction and woodworking projects, offering a balance of ease of creation and aesthetic appeal.
How To Make Miter Joint?
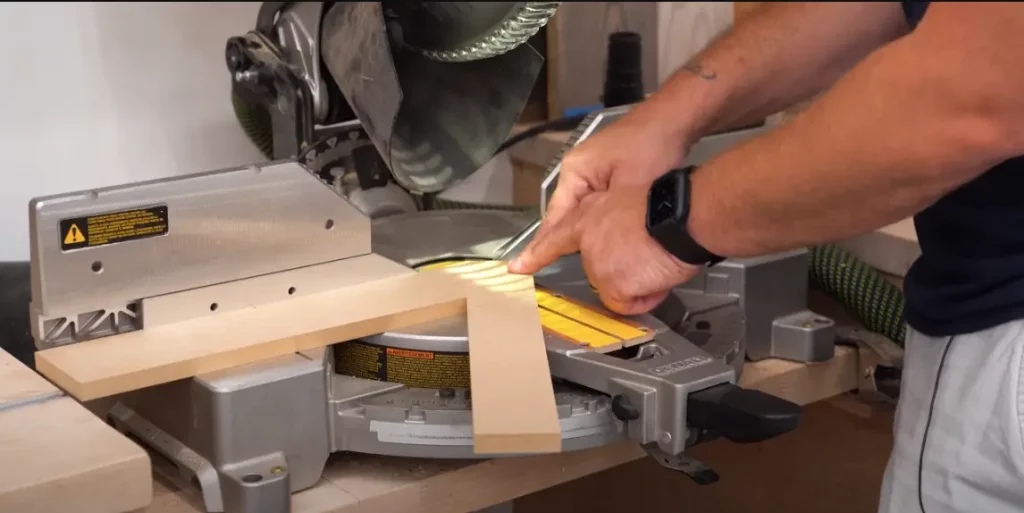
- Cut each of the two pieces to be joined at a 45-degree angle, usually to form a 90-degree corner. This can be done using a miter saw, miter box, or by carefully marking and cutting the 45-degree angles.
- Ensure the face sides and edges of the pieces are straight, square, and free of any warping or twisting before cutting the miter.
- Mark the miter lines carefully using a square and knife, measuring the length to get the cut lines accurate.
- Saw the miter cuts precisely along the marked lines, taking care to maintain the 45-degree angle.
- To assemble the joint, apply wood glue to the miter surfaces and clamp the pieces tightly together, using corner clamps if available to help hold the joint square.
- For added strength, you can reinforce the miter joint by adding a spline, dowel, or biscuit across the joint.
- Allow the glue to fully cure before removing any temporary clamping or support.
The key is cutting the 45-degree angles accurately and clamping the joint tightly during glue-up to create a strong, seamless miter joint.
Common Mistakes to Avoid
Here are some common mistakes to avoid when making miter joints:
-
Inaccurate 45-degree angle cuts:
- Cutting the miter angles even slightly off from 45 degrees can lead to gaps at the joint.
- Ensuring the saw blade or miter box is precisely set to 45 degrees is crucial.
-
Uneven or mismatched board lengths:
- If one board is cut slightly shorter than the other, it can cause the miter joint to not fit together tightly.
- Carefully measuring and marking the cut lines is important to get the lengths matched.
-
Nailing too close to the edge:
- Nailing the trim or molding less than 3/4 inch from the end or 1/4 inch from the edge can cause the wood to split.
- Using shorter nails and being cautious with nail placement is recommended.
-
Failing to reinforce the joint:
- Miter joints are inherently weaker than other joinery methods, so adding splines, dowels, or biscuits can help strengthen them.
- Not reinforcing the joint can lead to it failing over time.
-
Pressing the joint too tightly:
- If there is a slight gap between the molding and the wall, forcing the trim tight can cause the miter joint to open up.
- Using shims to fill the gap is a better approach than over-tightening.
Types of Miter Joints
Traditional Miter Joint:
- Formed by cutting each of the two pieces to be joined at a 45-degree angle, typically to create a 90-degree corner.
- This is the most common type of miter joint used in applications like picture frames, cabinets, molding, etc.
Angled Miter Joints:
- For angles other than 90 degrees, the proper cut angle is half the desired final angle between the two pieces.
- This allows the miter cuts to meet flush without one piece being longer than the other.
3-Way Miter Joint:
- Used to connect the corners of a three-dimensional object like a box or table.
- Requires three equally dimensioned and angled pieces of wood to join at a corner.
The angles are often still 45 degrees, but may vary depending on the application.
Reinforced Miter Joints:
- Can be strengthened by adding a spline, dowel, or biscuit across the joint to improve its strength.
- This helps address the inherent weakness of miter joints compared to other joint types
Tools Required
- Miter saw
- Miter box
- Table saw
- Router
- Clamps
- Glue
- Biscuit joiner
- Utility knife and square
Uses of Miter Joints
- Picture frames – Miter joints are commonly used to construct the corners of picture frames, allowing for a clean, seamless appearance.
- Molding and trim – Miter joints are extensively used to join pieces of crown molding, baseboards, window/door trim, and other types of decorative molding.
- Cabinets and boxes – Miter joints can be used to assemble the corners of cabinet cases, boxes, and other small woodworking projects.
- Door and window making – The miter joint is a common technique for joining the corners when constructing door and window frames.
- Pipes and tubing – Miter joints are used to connect angled sections of pipes, tubing, and other cylindrical materials.
- Decorative applications – The clean, seamless appearance of miter joints makes them suitable for a variety of decorative woodworking projects like tables with waterfall edges.